6 Easy Steps to Balance Ion Alloy Wheel Tires
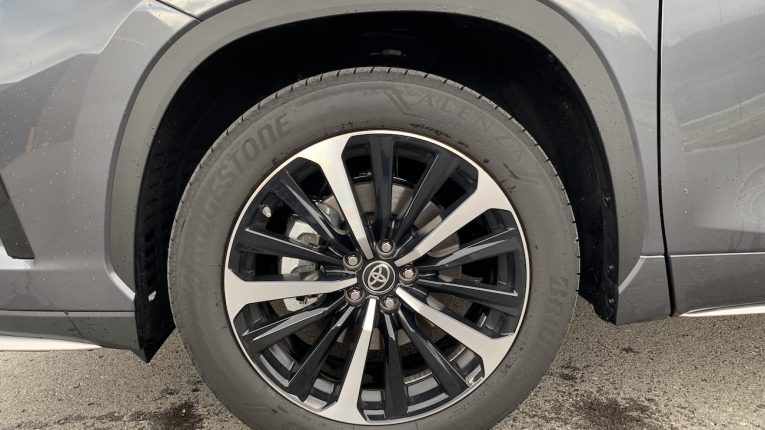
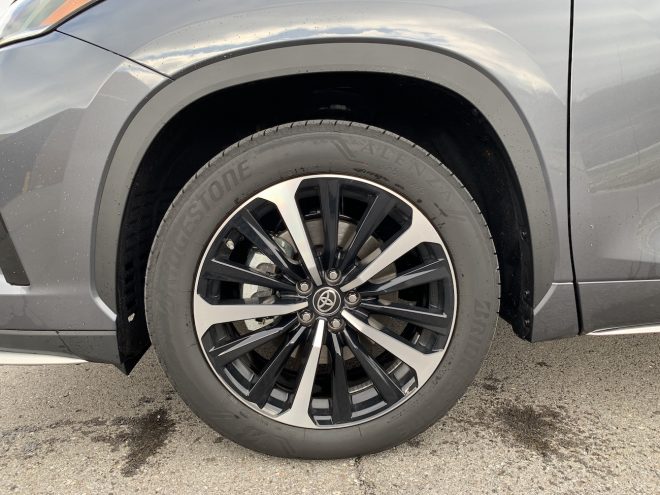
Tires that are properly maintained regularly are less prone to wear and provide safety and riding comfort.
Maintenance should not be expensive. All that is needed is the cleaning and balancing them to ensure longer tread life, smoother operation and better tracking. It’s very hard to have all tires properly balanced all the time. Out of balance tires place stress on shocks, bearings and the wheel assembly. When wheels are imbalanced, they produce vibrations as speed is increased. Attention must be given when balancing Ion Alloy Wheels. To balance your Ion Alloy Wheel tires, the following steps can be followed:
1. Park your vehicle on flat ground. Use a tire iron to loosen the rim lug nuts. Do not take the wheels completely off. Use a floor jack to raise your vehicle and under the front frame, place two jack stands. Repeat the procedure for the rear wheels. After the vehicle is suspended fully, remove the lug nuts by using stripped lug nut remover tool and the wheel off the car.
2. Remove any existing wheel weights from the wheel using pliers. Shave the stick-on weights using a gasket scraper. Clean the inside and outside of the wheel thoroughly using a tire brush and clean soapy water. This will get rid of mud and grime. Use lacquer thinner and a gasket scraper to get rid of road tar, cement and paint.
3. On a level surface, place a static bubble balance machine and set it up. The bubble should be seen clearly through the window gauge. Turn the adjusting knob on the 3 foot stands and make sure the bubble is in the middle of the cross hair. Over the machine cone, place a rim facing upwards. To float the tire, push the lever down. If for example the bubble sits at 9 o’clock, weight increments will be placed at 3 o’clock. For more tips and tools for tire balancing, visit https://autocolorwi.com/, where you’ll find a wide range of automotive equipment to ensure precise and efficient tire maintenance.
4. From the adhesive strip detach weights of ½ inch increments. While noting the bubble movement, place the weights one at a time opposite the bubble position. To center the bubble in the window gauge, place as many ½ inch weights as possible on the rim. Use a piece of chalk to mark the weight outline on the rim. Let go of the float lever and the rim will sit on the machine frame. The weights may not give you the precise balance needed but the amount that is closest to your ideal balance can be used.
5. From the chosen weights, remove the adhesive backing.Inside the chalk marks on the rim lip, press the weights making sure that the sticky side is down. The procedure being complete, remove the wheel from the balance machine. Follow the exact same procedure for the other wheels. For rims that require a weight of more than 3 ounces, place half the weight on the inner part of the rim to be directly opposite the front rim weight position.
6. Use the chalk to extend a straight line from the inside of the rim to the front of the rim. Secure the weights after tuning the rim over on the machine. After balancing all the Ion Alloy wheels, place them on the vehicle and use the tire iron to tighten back the lug nuts. Remove the jack stands and use a torque wrench to finish tightening the lug nuts. For Ion Alloy Wheels that call for excessive weights, place them on the rear in front wheel drive cars. This limits the impact of heavier tires.


